Video Tutorial
Prerequisites
In order to completely follow along this tutorial you will need the following.
- Access to DigitalOcean for setting up Droplets (VMs)
- A domain name linked with DigitalOcean
For this tutorial, I will be using my own domain ivanskodje.com. Replace it with your own domain in the places I use it.
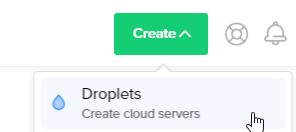
Create Droplet
Create a new Droplet
Since we already know we want a machine to setup Docker in, we can go to the Marketplace and find the appropriate Docker application.
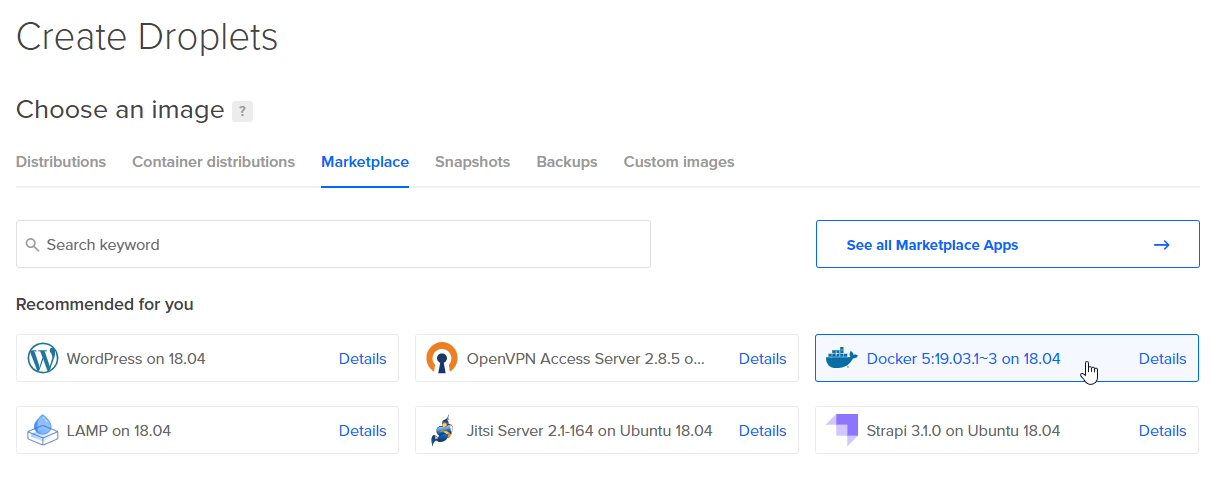
Once that is done, it is up to you to choose the remainder droplet configuration.
I chose the most minimalistic and cost effective setup for this tutorial, but you are free to choose yours.
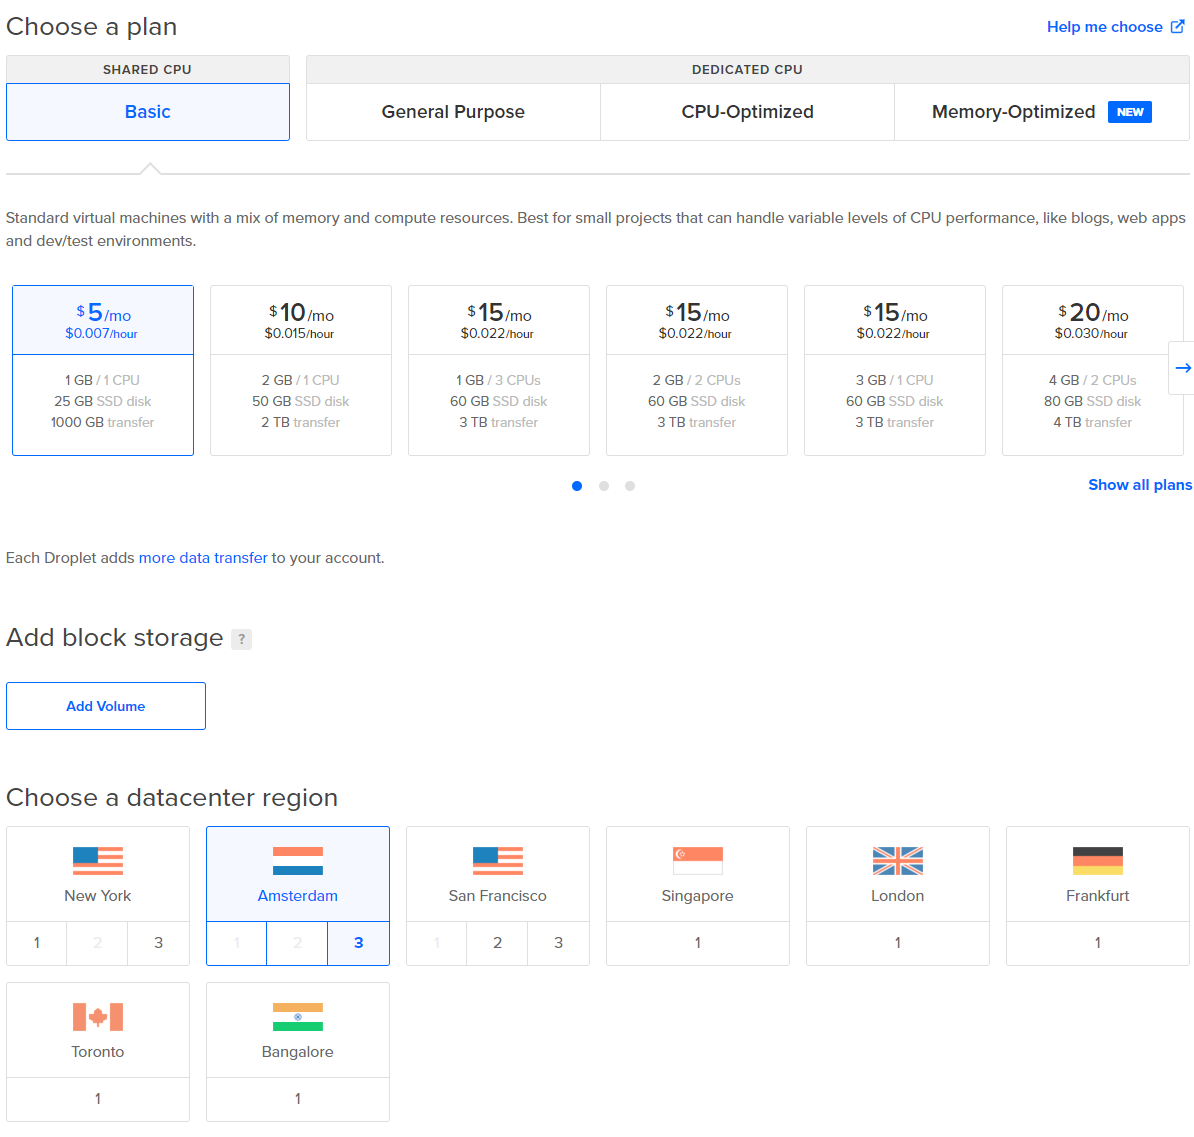

Plan: Basic
Cost: $5/mo
Datacenter region: Amsterdam (3)
Additional options: IPv6
Authentication: Password
Hostname: docker-nginx-letsencrypt-ghost
Backups: No, but it is recommended to enable it.
Setup our domain name
While the droplet is being created we can move on to setting up our domain name. My domain is ivanskodje.com, so I intend to setup the sub domain myghost.ivanskodje.com.
Select the domain name you intend to use.

We want to create two A records. One with hostname myghost, and the other with hostname www.myghost.
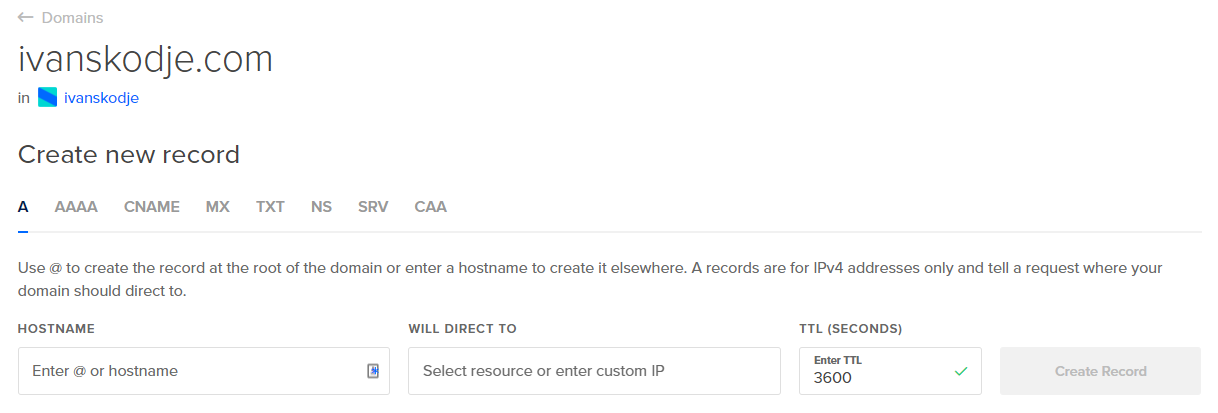
It may take a moment before the newly created record will take effect, so go ahead and copy the IP address before continuing.
Setup new user & disable root
Now that we have created our droplet on Digitalocean, we want to disable root and setup our own user that we will use for the remainder of the tutorial.
In whatever operating system you are currently running in, open up your Terminal window and connect remotely to the droplet via ssh.
$ ssh root@YOUR-IP-HERE
Create a new user
Let us begin by creating our user which we will use to set everything up. During this tutorial I will be using the name "demouser". Answer the questions if you want.
$ adduser demouserIn order for the newly user to have access to sudo commands, as well as docker commands, we want to add the user to docker and sudo groups.
$ usermod -aG sudo,docker demouserLogin as the new user.
$ su - demouserVerify that we are in group sudo and docker.
$ groupsIn addition to this, you can verify that you have access to the root folder.
$ sudo ls -al /rootIf you were successful, we can now safely disable the root user.
Disable root user
Log out as the demouser by exiting once.
$ exitThen disable the login of the root user.
$ passwd -l rootIf everything went well, it should tell you that the password expiry information changed. We will confirm this by attempting to reconnect as the root user. Exit once again in order to return to your terminal.
$ exitVerify that you indeed cannot reconnect as the root user.
$ ssh root@YOUR-IP-HEREWe expect to get a permission denied, please try again message. That is good. Let us reconnect using our newly created and tested user account.
$ ssh demouser@YOUR-IP-HEREAs a side note, there are other more formal ways of disabling remote access to the root user.
When setting up a server, it is also a good idea to change the default ssh port.
We are now ready to continue.
Install Nginx
Install it.
$ sudo apt update
$ sudo apt install nginx
Open ports
You can check which ports are open.
$ sudo ufw statusBy default, port 80 (http) and 443 (https) is not open. Let us open it.
$ sudo ufw allow 80/tcp
$ sudo ufw allow 443/tcp
Confirm the ports are open by checking the status again.
$ sudo ufw statusGood job.
You can verify that you are getting the default nginx entry page when you enter your web address in the browser. It should look like this.
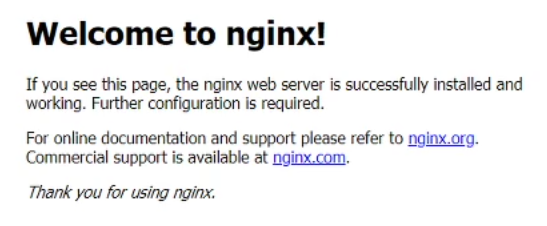
This means nginx is working as expected. We are ready to setup the domain name we want to use.
Setup the domain (virtual name) in Nginx
If you navigate to /etc/nginx/sites-available, you can see we have a default file. That is the file that nginx currently serves you when you view your page in the browser.
$ cd /etc/nginx/sites-available
$ ls
default
We want to make a new file to tell nginx that we want to use myghost.ivanskodje.com.
sudo nano myghost.ivanskodje.comThen enter the following information.
server {
	listen 80;
	listen [::]:80;

	server_name myghost.ivanskodje.com www.myghost.ivanskodje.com;

    	root /var/www/myghost.ivanskodje.com;

        location / {
            try_files $uri $uri/ =404;
        }
}
When that is done, let us make a shortcut to tell nginx that we want to use this. It is important to use the full path.
$ sudo ln -s /etc/nginx/sites-available/myghost.ivanskodje.com /etc/nginx/sites-enabled/Lastly before we restart nginx, we want to create a new folder and file to serve when we enter myghost.ivanskodje.com in the browser.
$ sudo mkdir /var/www/myghost.ivanskodje.comCreate index.html.
$ sudo nano /var/www/myghost.ivanskodje.com/index.htmlCreating a minimal html page.
<html>
<body>

<h1>Hello</h1>

</body>
</html>
Everything should now be ready, let us restart Nginx to make the changes take effect.
$ sudo service nginx restartNavigate to myghost.ivanskodje.com to verify that you see a big Hello.
With most of the heavy preparations in place, let us move on by securing it.
Install Certbot to setup free HTTPS certificates
If you are having trouble setting up Certbot, you may find further instructions on their web-site.
Download certbot
$ sudo snap certbot --classicSecure our domain(s) with certbot
$ sudo certbot --nginxIt will ask you two questions you have to answer. First question you have to accept by entering A. The second question is whether or not you want to opt in sharing your email address.
Select your www.myghost and myghost domain by entering the two numbers as described, separated by comma (Probably `1,2`)
Assuming everything went well, it should now have secured your web-site. Go back to the browser to confirm that you indeed are getting redirected to a HTTPS page.
Install Ghost with Docker
With all the work done, this is the easiest part. In your home folder (or any folder of your choosing), create a new file.
$ cd ~
$ nano run-ghost.sh
Then enter the following.
#!/bin/sh

# Remove the existing container
docker rm -f ghost-myghost.ivanskodje.com

# Create new container (using volume for data persistence)
docker run --name ghost-myghost.ivanskodje.com \
-p 127.0.0.1:2368:2368 \
--restart=always \
-e url=https://myghost.ivanskodje.com \
-v /home/$USER/ghost-myghost.ivanskodje.com/content:/var/lib/ghost/content \
-d \
ghost:3-alpine
Finally we need to make the file executable, in order to run it.
$ chown +x run-ghost.shThen run it.
$ ./run-ghost.shVerify that the newly created container is running.
$ docker psExplanation
docker rm -f ghost-myghost.ivanskodje.com
The first time we run this script, this will do nothing. It simply allows us to "restart" the container, by removing any existing container before we create a new one.
docker run --name ghost-myghost.ivanskodje.com \
Starts a container with the name "ghost-myghost.ivanskodje.com". You can choose your own name.
-p 127.0.0.1:2368:2368 \
Tells us which ports to use.
--restart=always \
If something goes wrong, we will attempt to restart the container.
-e url=https://myghost.ivanskodje.com \
This is used by ghost to setup the root url. Without this setup you will have a bad time.
-v /home/$USER/ghost-myghost.ivanskodje.com/content:/var/lib/ghost/content \
This is the most important part. This is what makes our ghost container persistent. It will store the important data in our own home folder, in the folder /ghost-myghost.ivanskodje.com/content. You are free to change this, just make sure you leave the right side unchanged (/your/path/here:/var/lib/ghost/content).
-d \
Run container detached. I assume you want no commitment to this container, so it is better to remain detached.
ghost:3-alpine
The last line tells us which image to use. You can find other ghost images, but I chose this one, since it is more lightweight.
Redirect Nginx to the Ghost container
Navigate back to the nginx folder. We will edit the myghost.ivanskodje.com file in order to redirect it to the ghost container.
$ cd /etc/nginx/sites-available
$ sudo nano myghost.ivanskodje.com
You may notice that it has changed a bit since last time. This is because letsencrypt automatically made the changes needed to redirect from http to https. Luckily we only want to make a small change. We want to change the location we are pointing at.
Remove the root and alter the location. Leave the rest alone, as it is handled by Certbot.
server {
	server_name myghost.ivanskodje.com www.myghost.ivanskodje.com;

    location / {
    	proxy_pass http://127.0.0.1:2368;
        proxy_set_header Host $http_host;
        proxy_set_header X-Real-IP $remote_addr;
        proxy_set_header X-Forwarded-For $proxy_add_x_forwarded_for;
        proxy_set_header X-Forwarded-Proto https;
    }

    # content left out here... managed by Certbot
}

server {
 # content left out here... managed by Certbot
}
Do a final reload of Nginx.
$ sudo service nginx reloadThat should be it. When you go in the browser, and navigate to myghost.ivanskodje.com, you should see your Ghost blog.
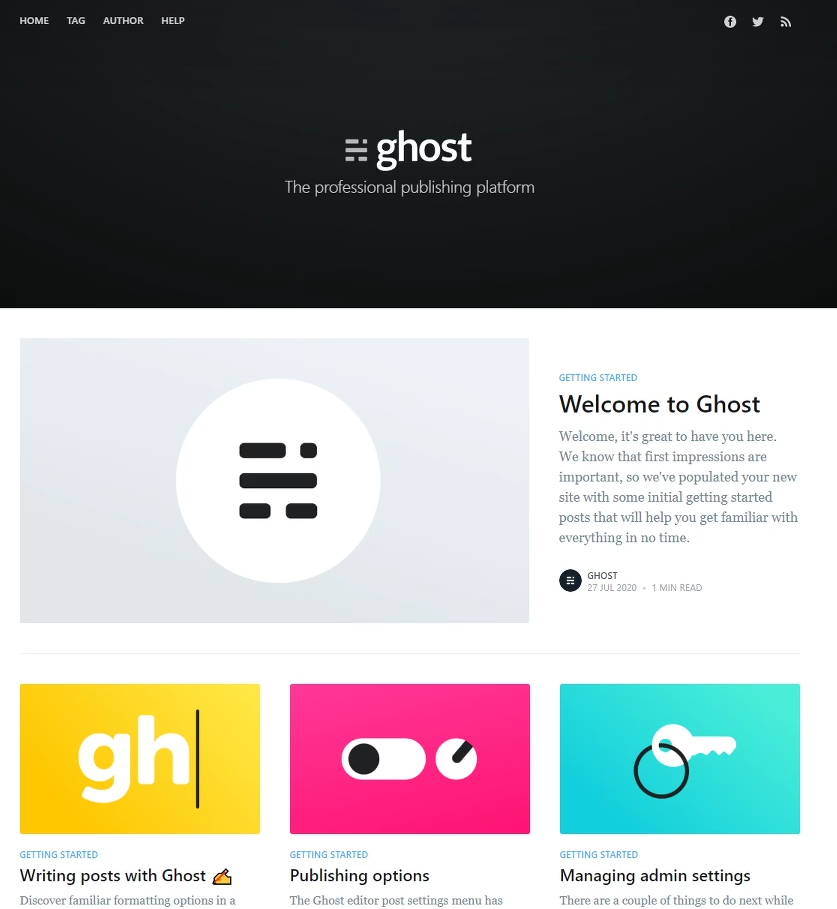
You can setup ghost further by adding /ghost at the end of your address. In my case the full address would be https://myghost.ivanskodje.com/ghost.
Thank you for reading.