We are going to be setting up a fresh and secure DigitalOcean droplet server, using Ubuntu 20.04.
Prerequisites
- Access to DigitalOcean for setting up a new project & droplet (~$5/mo)
- Your own domain name that you can use to link with DigitalOcean
What we will be doing
- Create a new Project
- Create new Droplet
- Link your domain name with DigitalOcean
- > Update your own domain's nameservers
- Secure the Server
- > Login to the server via SSH
- > Update and Upgrade
- > Create a new user
- > Disable root user
- > Change Default UFW Firewall Port
Create a new Project
Login to digitalocean.com (thank you for using my referral link), and create a New Project from the top right.

Fill in the project information of your choice and hit Create Project.
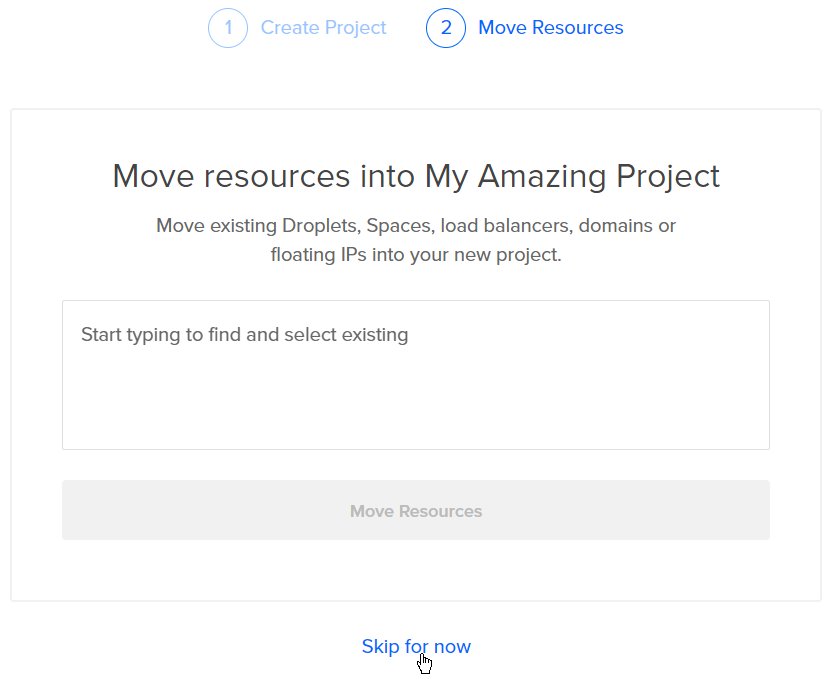
Skip the second step unless you already use DigitalOcean and have resources you would like to move.
Create a new Droplet
Create: Droplet.
Choose an image: Ubuntu 21.04 x64
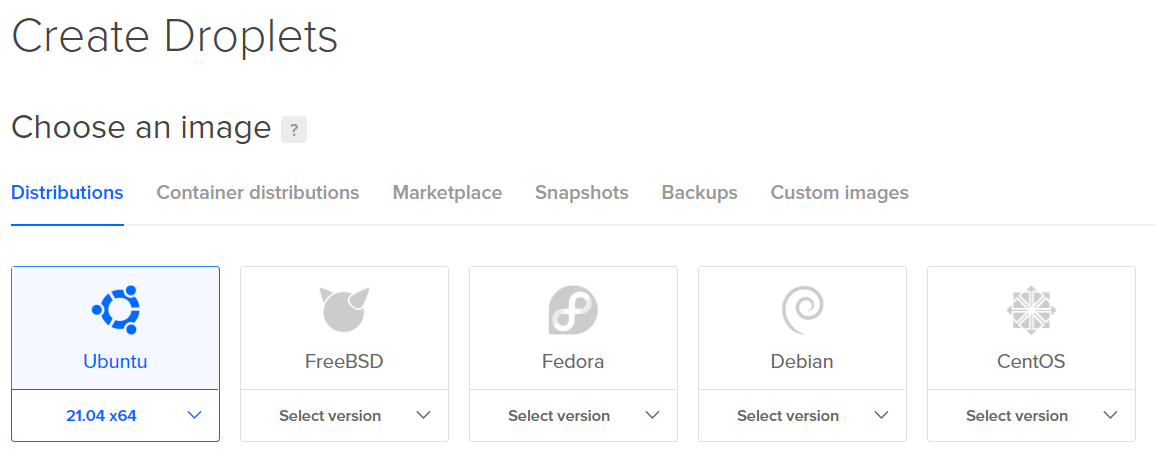
Choose a plan: Basic
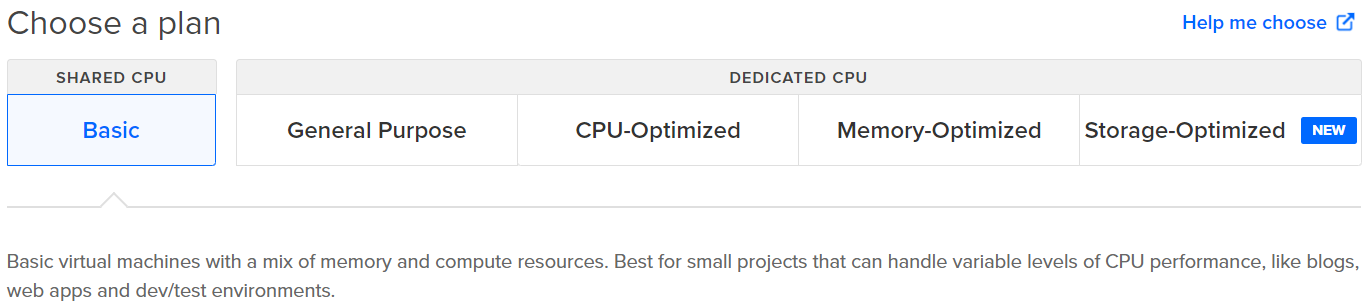
CPU options: Regular Intel with SSD, $5/mo

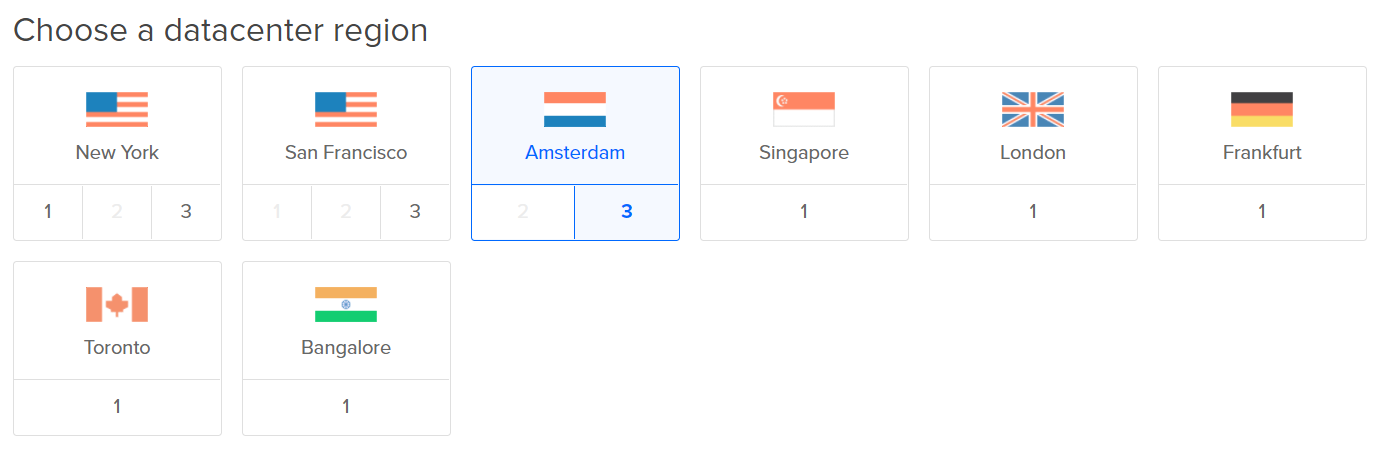
Choose a datacenter region: (your choice, closer is better)
Authentication: Choose a temp password (we will change it later)
Finalize and create: 1 Droplet, choose a hostname (or use default)

Choose whether or not you wish to enable backups.

Create Droplet:


Link your domain name with DigitalOcean
Update your own domain's nameservers
From wherever you bought your domain name, you will to setup the nameservers to point it towards DigitalOcean's. For example, on namecheap.com you go to your domain settings, and set the nameserver addresses:
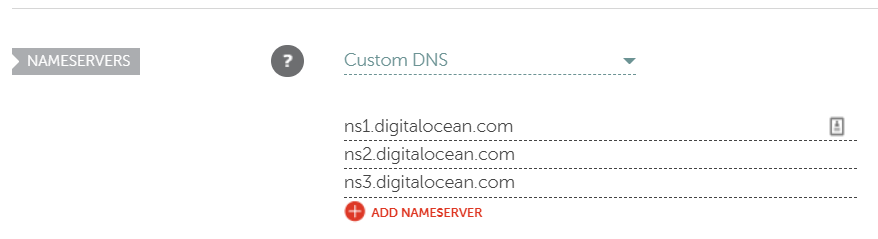
ns1.digitalocean.com
ns2.digitalocean.com
ns3.digitalocean.com
Consult your domain name provider if you need help setting up custom nameservers.
Manage DNS on DigitalOcean: Select it on the bottom of your project page.

If for some reason you cannot find it, find Networking on the left menu and choose Domains
Add a domain: Your own domain name
Select your own domain name.

Create a new record: This is going to point to the default HTTP page we will get when we setup Nginx.
@ indicates we want to use the plain hostname for our default web server.
You can also enter a hostname if you intend to use a subdomain name.
If you enter * you will redirect all sub-domains to the default web-server.

If you open PowerShell or any commandline, and enter ping <yourdomain/ip>, you will hopefully get the IP address to the server. This means the domain name is ready to be used.
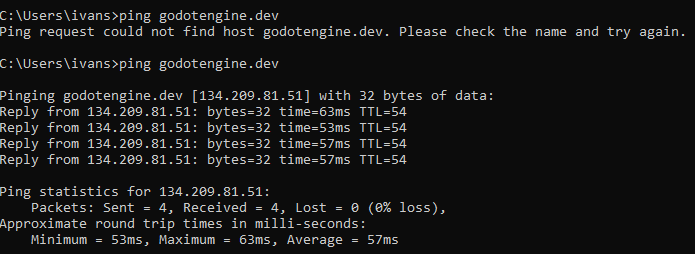
Note that it may take a little while before the new record works.
If your domain is completely new, it may take 12-48h.
Secure the Server
Login to the server via SSH
Open PowerShell, or any other command-line tool that has SSH capabilities.
SSH is used to connect to the server terminal so we can start working with it
SSH in to your server:
ssh root@yourdomainType "yes" to confirm that you wish to continue, and enter your password.
Your password is not visible while typing

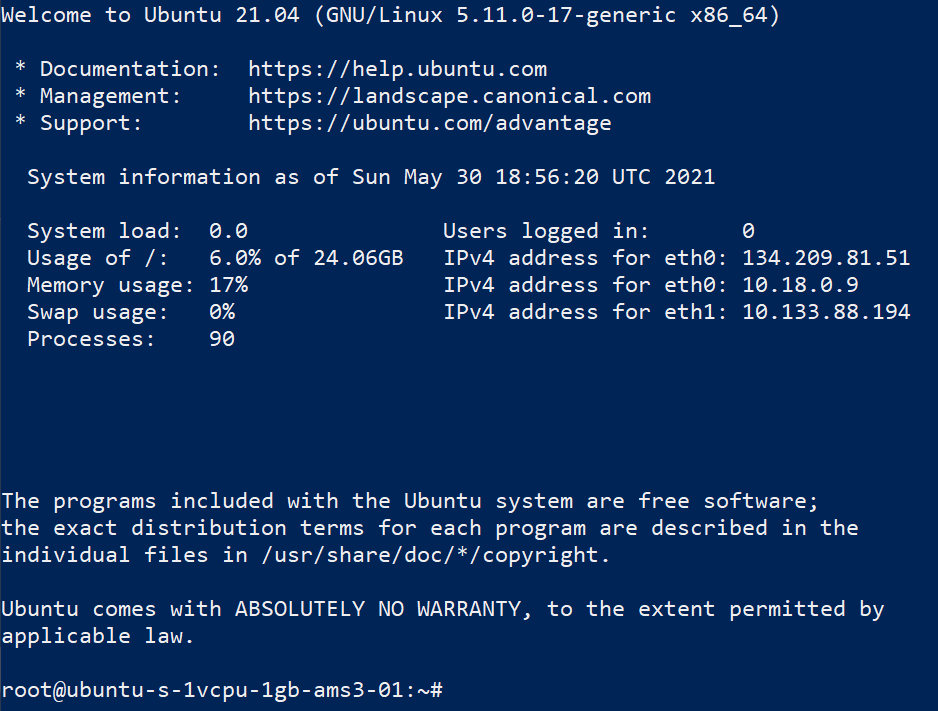
Once you have succeeded logging in, you will be greeted by a warm message:
Update and Upgrade
sudo apt update -y
-y is to accept the update in advance (otherwise you have to manually enter for the updates)
sudo apt upgrade -y
This will ensure most of our software is up to date.
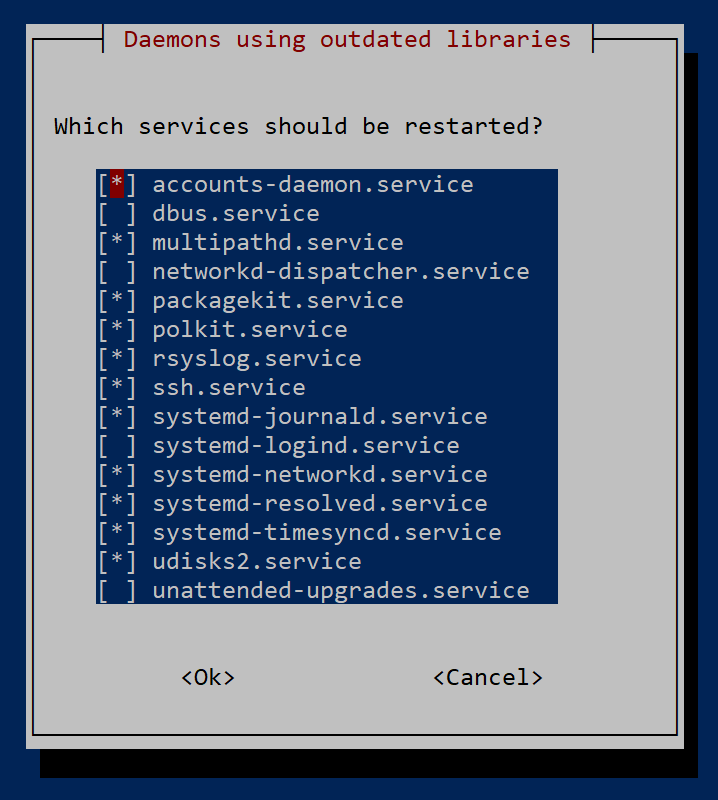
Upgrade Event: Daemons using outdated libraries
If you are getting a popup during the upgrade process asking you which services should be restarted; unless you know what you are doing, you should keep the default and select OK by pressing Enter.
Create a new user
We do not ever want a root account available to the outside world. We can remedy that security risk by creating a new user with sudo permissions, and disabling root.
"sudo permissions" is a fancy-pancy way of saying administrator privileges.
Add new user:
adduser <your-username>
Add the new user to the sudo group:
usermod -aG sudo <your-username>
Before we even think about disabling root, we want to ensure that our new user has the appropriate permissions to access root commands.
Login as the user:
su - <your-username>
Verify that you are in the sudo group:
groupsVerify that you can access a root folder:
sudo ls -al /root
If you did not receive any permission errors, we are good to go.
If you got any errors, share them with us!
Type exit to leave as the user and return as the root user.
exit
Disable root user
Now that we have ensured that we have a new user we can use to replace the "root" user, we want to disable the root user so no evil can be done with it.
Disable root user:
passwd -l root
Disconnect as the root user:
exitSSH into your server again with your new username and password:
ssh <username>@<server>
Change Default UFW Firewall Port
NB: Make sure you complete this part, as we will be disabling the default SSH port when we activate UFW.
If you quit before re-enabling SSH you will no longer be able to SSH into the server.
We are going to be using the UFW firewall. Check the status, and enable it if it isn't already so.
sudo ufw status
sudo ufw enable
We currently do not have any open ports. We want to make sure we have SSH enabled, but we will do so for a different port. We are going to set the port to 13022, but you can choose any between 1024 and 65535. Remember this, as we will have to change the SSH configuration as well later.
sudo ufw allow 13022/tcp
We want to change the default. Using the default port 22 is a bad idea, as it is a common subject to hack attacks
Update SSH Configuration File
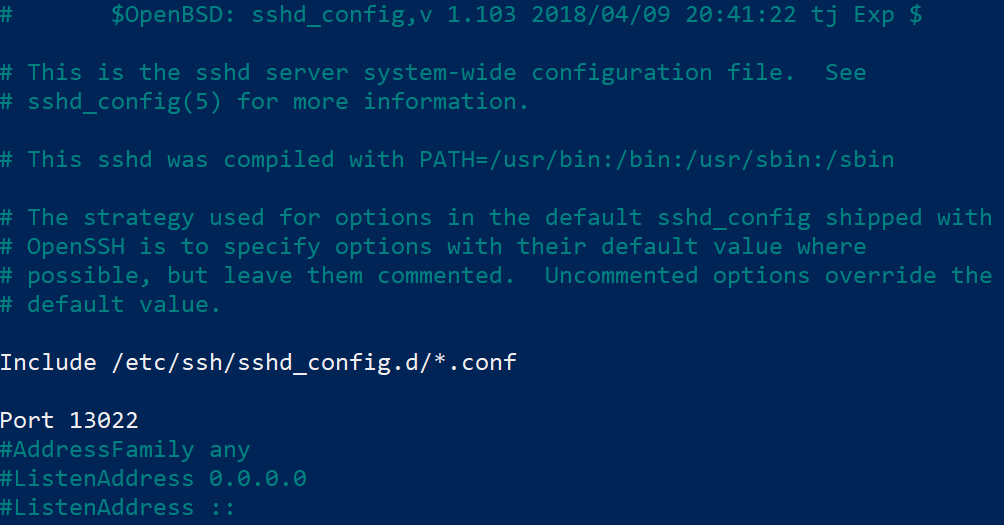
All that remains now is to set the port to 13022 in the SSH config.
Open sshd_config:
sudo nano /etc/ssh/sshd_configScroll down until you find #Port 22 and change it to Port 13022
Press CTRL+X to exit, and type Y and press enter to save.

Make sure you have the correct port in UFW:
sudo ufw statusIf you have the same port 13022/TCP there, you are good to continue.
Restart SSHD, and exit:
sudo service sshd restart
exit
If you try to connect without specifying a port, you will now get timed out:

Let us connect by specifying the port number we changed it to, 13022:
ssh <username>@<domain> -p 13022
You are now done with the fundamental setup of a new DigitalOcean server, happy hacking!